Mar. 12th, 2017

glittersweet: (Default)

Maleficent has a huge hoop. Bugger.


I had suspected but a few images put together really do reveal this quite clearly.


If you watch the Awkward Situation clip you can see how the train skims the ground without folding or dragging. If you watch the edge of the train as she goes up the steps it even catches and springs just like a hooped skirt. If you have ever worn hoops or a cage crinoline with flat steels/plastic it wibbles a bit like a jellyfish.


Note how the front edge of the train stops, it doesn’t just pull like fabric under tension it moves like there is a wired edge. And in movement the edge then springs forward once released from that first step.


Here the train is caught on the last step but this is mainly to show the front of the gown is not also stifened. It does have a fairly deep hem which does has some sort of facing but it still flows. It also looks like Angelina is wearing platforms to add to her height- note how the toes push the fabric out above hem line.


You can also see the wired edge also extends in to the seam where the train is sewn to the gown. This makes sense to help support the full train. Having now made mine it is very heavy indeed.


This then explains why that seam appear to be top stitched or otherwise additionally reinforced in other images.


So I had a look at stills again and they do also support the idea of a supported train. In the still below (screengrab) you can see how the train edge is under a lot of tension, but also there is a mystery “bump” near the join between the leather and shell fabric- it does not correspond with the step or any fabric componant of the gown. This is most likely due to a support underneath lifting off the ground- as she is turning this makes sense.


And in this still you can see a ridge that follows the main curve of the leather. And even where the layers are caught to the support hoop in the 2nd to left panel.


So a U shaped hoop on the bottom of the train and two gently flared strips inside the front edge of the train. Imagine a curvy scoop. To make mine I’ll be making a tube of fabric to tack to the underside of my train. And a wrapped facing on the front edge. Then wrap three layers of plumbers coil with sports tape to insert just before putting the entire piece on. I will have to use temporary fastenings to hold the ends in place so as to be able to remove them for convention safety!


I have also just overdyed a huge metal zip (possibly for a sleeping bag) so I will have a super mega firm fastening that will survive the pull and drag of this train. Then I can cover it with a spine.


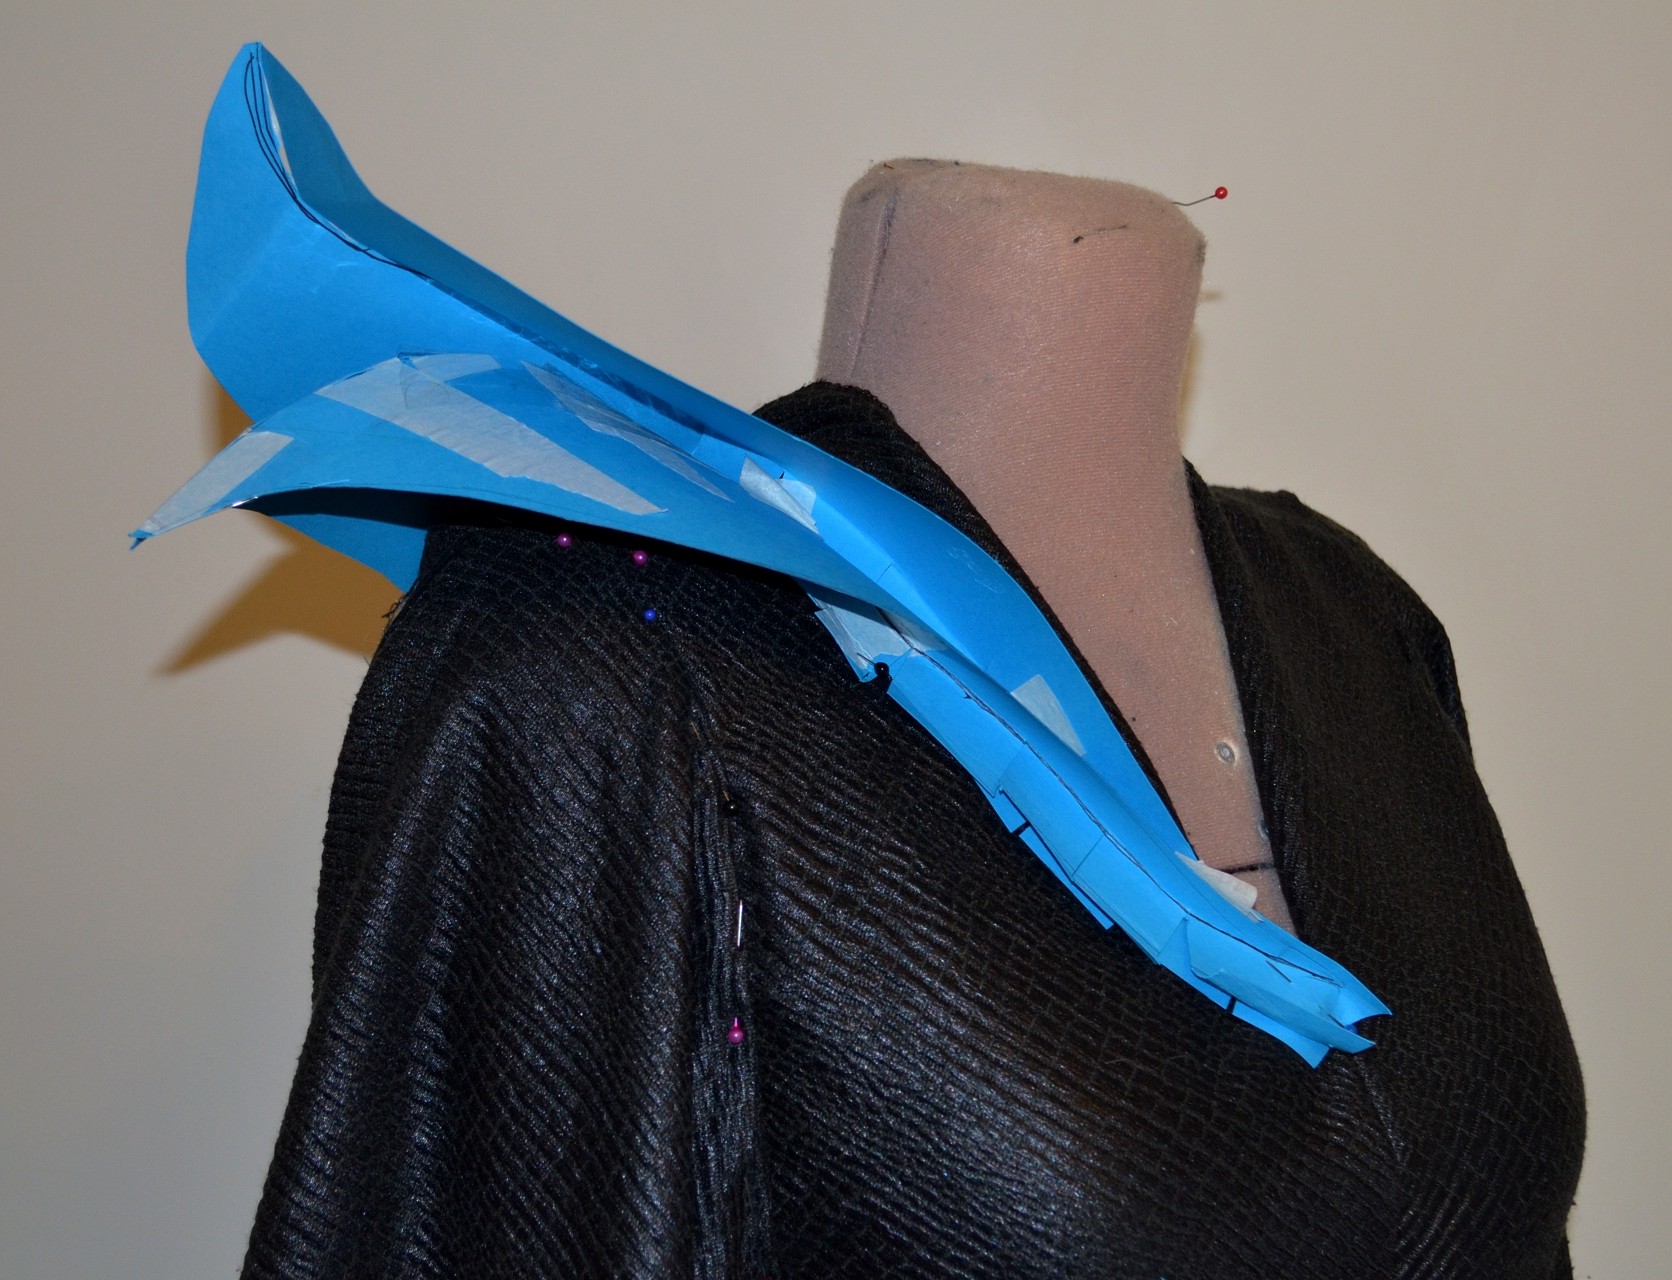
And now to resize my collars 🙂


glittersweet: (Default)
I have no idea how many people are actually permanently at dreamwidth but it's really hard to not know where is the best place to comment :/ I just went through ljs to check if people were posting here but can't tell how many posts are crossposted. Easiest way is to add the handy dandy footer code :)
Just testing with this post :)

To add the footer:

http://www.dreamwidth.org/manage/settings/?cat=othersites

Crosspost Settings

Comments<input ... >


Footer<select ... > <option ... >Always</option> <option ... >When Comments Disabled</option> <option ... >Never</option> </select>

And there is a handy code to copy:

System default footer:
<span style="font-size: smaller;">This entry was originally posted at <a href = "%%url%%">%%url%%</a>. Please comment there using <a href="http://www.dreamwidth.org/openid/">OpenID</a>.</span>

Not everyone migrated at the same time and it is not the same sort of adding and following people system :) This really is nice and easy.
glittersweet: (Default)

Maleficent pleather wrangling


So it’s a total pain to try and sew as it sticks to everything. To tidy the front edges I needed to top stitch a narrow facing. And I stumbled across this nifty little method to avoid puckering!


A button hole foot! Yep, this sticks to the pleather and you can then sew the full length and then lift the foot and slide forward again as you need.


For those of us with some fancy feet but not all.


For the hem I used a really sloppy running stitch with a very few back stitches, then clipped the hem off.


Once the hem was reshaped I then zipped it under the overlocker using the hand basting as a guide. I don’t fancy hand sewing all this. So I may wind up doing a “rolled” hem that the machine does. It’s a silly name as there is no rolling, just a very tidy encasing in thread effect.


glittersweet: (Default)

Maleficent, new parks costume, maybe….?


Well it was made for the Social Media Moms’ event so it may or may not be permanent.


The gown in action sheds a lot of light on the train of the original. It fits to the back after all unlike her other robes.


https://twitter.com/samhowzit/status/454767382804721664/photo/1


https://www.flickr.com/photos/aloha75/13991128094/in/set-72157643806632283


(many more, scroll through to see them all)


https://www.flickr.com/photos/hyku/13787915495/


And even more, scroll backwards for images from the meet and greet.


So from the recreation:


The gown is less full but is made from a knit mounted over a more stable fabric. The sleeves have extra details to reflect the original gown (deep wedges/notches at the hem of the front of the sleeves.


The headdress appears all in one and has more sculptural lines on the leather parts.


The collar sits wider, possibly not hooked to the choker, which is what I suspect may be needed.


The choker has a centre front seam.


The fabric is not purple but the lighting was used to make it so- another nod to the original.


The hem of the gown and the train is not as large as the original. Makes sense having just tried to wrangle the back alone….


There are skirt gores and they are similar to the ones in the Game of Thrones Westeros gowns. But narrower! There is a sculpted detail like a tail that covers the top of the gores and appears to go through in the recreation, it appears flatter in the original so may just be butted.


The back has a spine of some sort. Probably to cover a zipper- a good quality metal zipper as per the burlesque corset reblogged the other day 🙂  I’ll attempt a sculpted urethane piece.


glittersweet: (Default)


Maleficent fibreglassing


Sooo, the duo tone blue green doesn’t show up in the photo but it does in reality and I’ll just mix some and coat it tomorrow.


So I put the horns and head in the sink and used hot water to soften them enough to remove from forms.


E voila! Head support, untrimmed horns and staff all ready for the next stage of sticking together and sanding.


See the thin layer on the horns? It’s a bit tricky to do and I’ll probably not do that again. These will get a layer of black latex for the show so I don’t need to try and make some latex sheeting. It’ll stay well until I need to remove it 🙂


So how to stick the horns to the support? No idea just yet! They’ll be trimmed before anything else. And I’ll try and get some foam inside. Still not sure how one of the horns got warped but it must have been during curing as it won’t heat shape out.


glittersweet: (Default)

Maleficent collar template!


If anyone needs a base I’ll be sure to scan these as soon as I have a moment. Right now my sinuses are really kicking butt (I suspect bacterial infection because yay, RA and comprmoised immune system and how familiar this all is) and I’m finding it hard to concentrate. But I have kept all my patterns to transfer to 1:10 scale patterns 🙂


Sooo.


Profile

glittersweet: (Default)
pinkdiamond

June 2024

S M T W T F S
      1
2345678
9101112131415
16171819202122
23242526272829
30      

Most Popular Tags

Style Credit

Expand Cut Tags

No cut tags
Powered by Dreamwidth Studios